How to make a lanyard
Lanyards are not just practical accessories; they are also fashionable ways to carry keys, ID cards, and other small items. Whether you're looking for a personalized lanyard for yourself or a thoughtful gift for someone else, making one from scratch is a fun and creative endeavor. In this DIY guide, we'll take you through the step-by-step process of creating a lanyard that is not only functional but also reflects your unique style. So, grab some materials and let's get started!
Materials You'll Need
Before we dive into the crafting process, gather these essential materials:
Nylon or Polyester Webbing:
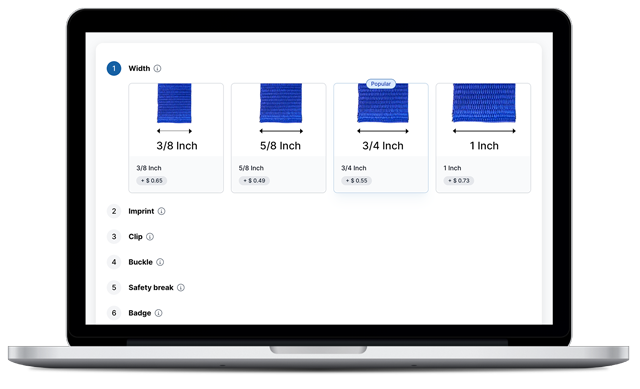
Choose a sturdy and durable material for your lanyard. Nylon and polyester are excellent options as they are resilient and come in a wide variety of colors and patterns.Lobster Clasp or Swivel Hook: These attachments will secure your items to the lanyard. Lobster clasps are better for keys, while swivel hooks work well for ID cards and badges.
Thread: Select a strong thread that complements the color of your webbing.
Needle: A regular sewing needle should work fine for this project.
Measuring Tape/Ruler: For accurate measurements.
Scissors: To cut the webbing and thread.
Optional Accessories: If you want to add some flair to your lanyard, consider beads, fabric paint, or embroidery floss.
Step-by-Step Guide
Measure and Cut the Webbing:
Determine the desired length of your lanyard. A standard length is around 36 inches (91 cm), but you can adjust it to your preference. Add a few extra inches for the clasp and seam allowance. Cut the webbing to your desired length.Attach the Clasp: Fold one end of the webbing over the lobster clasp or swivel hook and sew it securely. You can either sew a straight line across or an "X" pattern to reinforce the attachment.
Add Personal Touches (Optional): This is where you can let your creativity shine. If you want to add beads or embroidery, now is the time to do it. You can also use fabric paint to create unique designs or patterns on the webbing. Be sure to let the paint dry completely before proceeding to the next step.
Fold and Sew the Lanyard: Fold the webbing in half lengthwise, making sure the decorated side (if applicable) is facing inwards. The plain sides should be on the outside. Pin the two halves together to keep them aligned.
Sew the Edges: Starting from the clasp end, carefully sew along the edge of the lanyard. Use a straight stitch or a zigzag stitch if you prefer added strength. Be sure to sew through both layers of webbing.
Secure the Other End: Repeat the process for the other end of the lanyard, making sure the webbing doesn't twist or tangle. Double-check the length and trim any excess if necessary.
Congratulations, you've just created your very own lanyard!
By following this simple DIY guide, you now have a functional and stylish accessory that perfectly matches your personality. Whether you use it to keep your keys safe or display your ID card with pride, your handmade lanyard will be a testament to your creativity and crafting skills. Feel free to experiment with different colors, patterns, and embellishments to make each lanyard a unique and meaningful keepsake. Happy crafting!
Quote request
Looking for the perfect lanyards for your organization, event, or team? Look no further than our customizable lanyards! Our high-quality lanyards are made to order to fit your exact needs, from the color and material to the style and attachments.
Simply fill out the form below to request a custom quote for your lanyard needs. Our team of experts will work with you to create the perfect design and provide you with a competitive quote.